How to Disable Secure Boot in Windows 10 and 11
A quick guide to entering BIOS or UEFI and disabling Secure Boot in Windows 10 or Windows 11.
How to Disable Secure Boot in Windows
Secure Boot cannot be disabled through the regular Windows settings. You need to open the BIOS or UEFI menu.
Save any important files before changing the settings. If BitLocker is enabled, make sure you have your recovery key.
How to enter UEFI
- Hold the
Shiftkey. - While holding it, select Restart.
- Select Troubleshoot.
- Open Advanced options.
- Select UEFI Firmware Settings.
- Click Restart.
How to disable Secure Boot
- Open the Security, Boot or Authentication section.
- Find Secure Boot or Secure Boot Control.
- Change the setting to Disabled.
- Press
F10to save the changes. - Confirm and wait for the computer to restart.
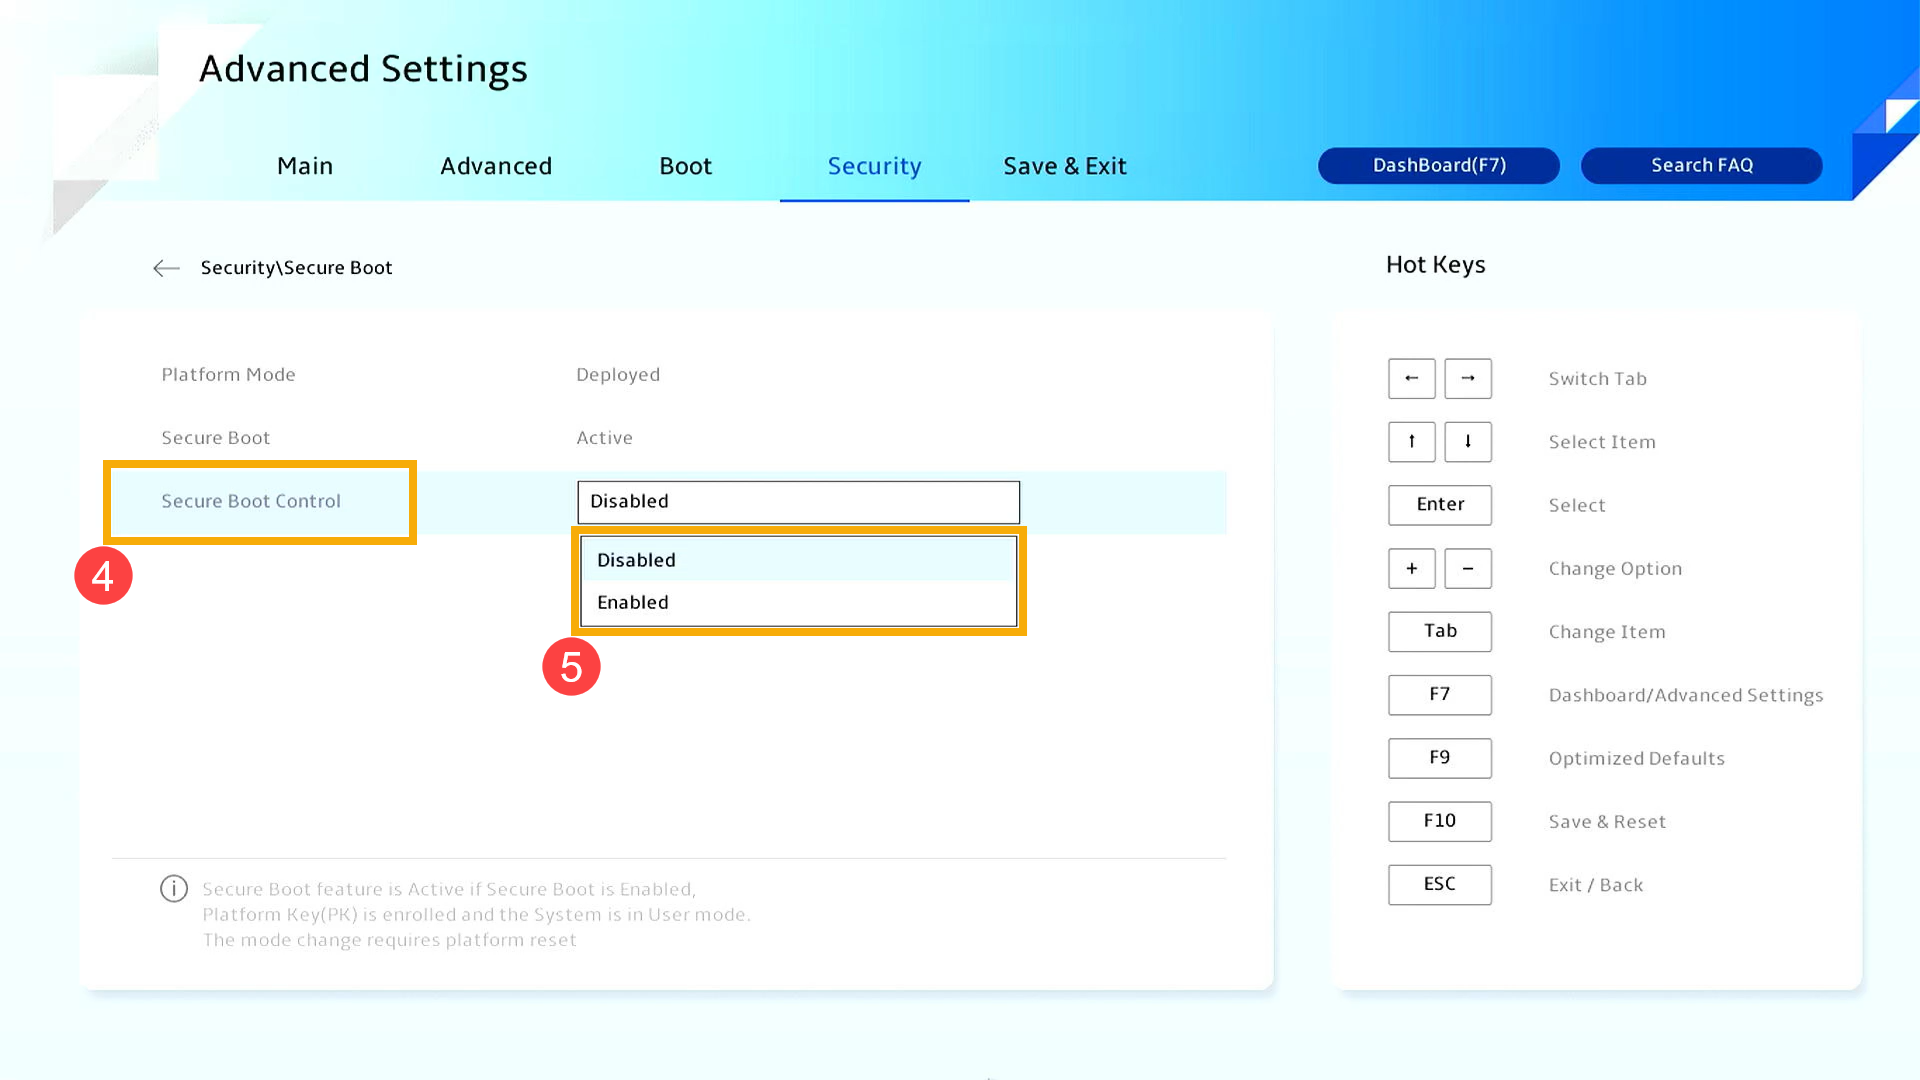
The menu names may differ depending on the motherboard or laptop manufacturer. Do not change any other BIOS settings unless necessary.